When I saw this article from Pinterest I was very intrigued and eager to try it:
http://petitelefant.com/how-to-pore-strips/
A few days later, I got the same gelatin as in the instructions and tried this pore strip myself. I have to say, the over-all outcome was very good - my face was very soft afterwards and it definitely did wonders for my pores.
There were definitely a couple of downsides to this DIY pore strip though that I did not read about in the blog. After I microwaved the concoction, it stunk SO bad. I'm talking a terrible stench with a hint of cow. It was so stinky that I could barely stand it and my cat followed me around meowing and purring because she found it appealing. Also, when I went to peal the strip off of my face, it was very painful. It dried into the hair on the side of my face and - holy cow - that was painful!
If the stench and hair-pulling doesn't bother you, then I would definitely recommend the recipe because, despite my whining, it worked very well.
Wednesday, August 15, 2012
Fun pockets!
White t-shirts can be a good way to make a cute yet simple outfit if you fashion it the right way.
What you will need:
 Plain t-shirt
Your choice of fabric (try to stick with a fabric that has the same weight as your shirt)
Iron-on hem
Scissors
Pen
Ruler
Iron
Starch (optional)
For my shirt, I bought a "boyfriend tee" from Victoria's Secret so that my shirt would be over-sized and comfy. I purchased an already cut piece of fabric since I don't need very much. This tutorial is fairly similar to my headband tutorial. Since I wanted a smaller pocket, I decided on making a 3.5 x 3.5 square in the fabric but you can choose whatever size you would like.
 You will need to fold the fabric in the next step so make sure that whatever measurements you decide on, you add .5 inches to your measurement. This is why my picture above has a 4 x 4 square drawn out with pen.
Now you're going to cut out your square slowly so that you don't create any fraying along the edge. Iron out the fabric to get rid of any folds.
Fold two parallel sides over just far enough to be able to cover up your iron-on hem:
 Make your folds as straight as possible. Now you can spray the edges you just folded with starch if you want a crisper look to your fold. Once the starch dries, cut two strips of hem for the sides you just folded about this much shorter than the fabric:
 You want to make sure it is shorter than the fabric so that folding it later will be easier.
Place the strips in the crease of the fold you just made and iron. Make sure you follow the instructions for your iron-on hem.
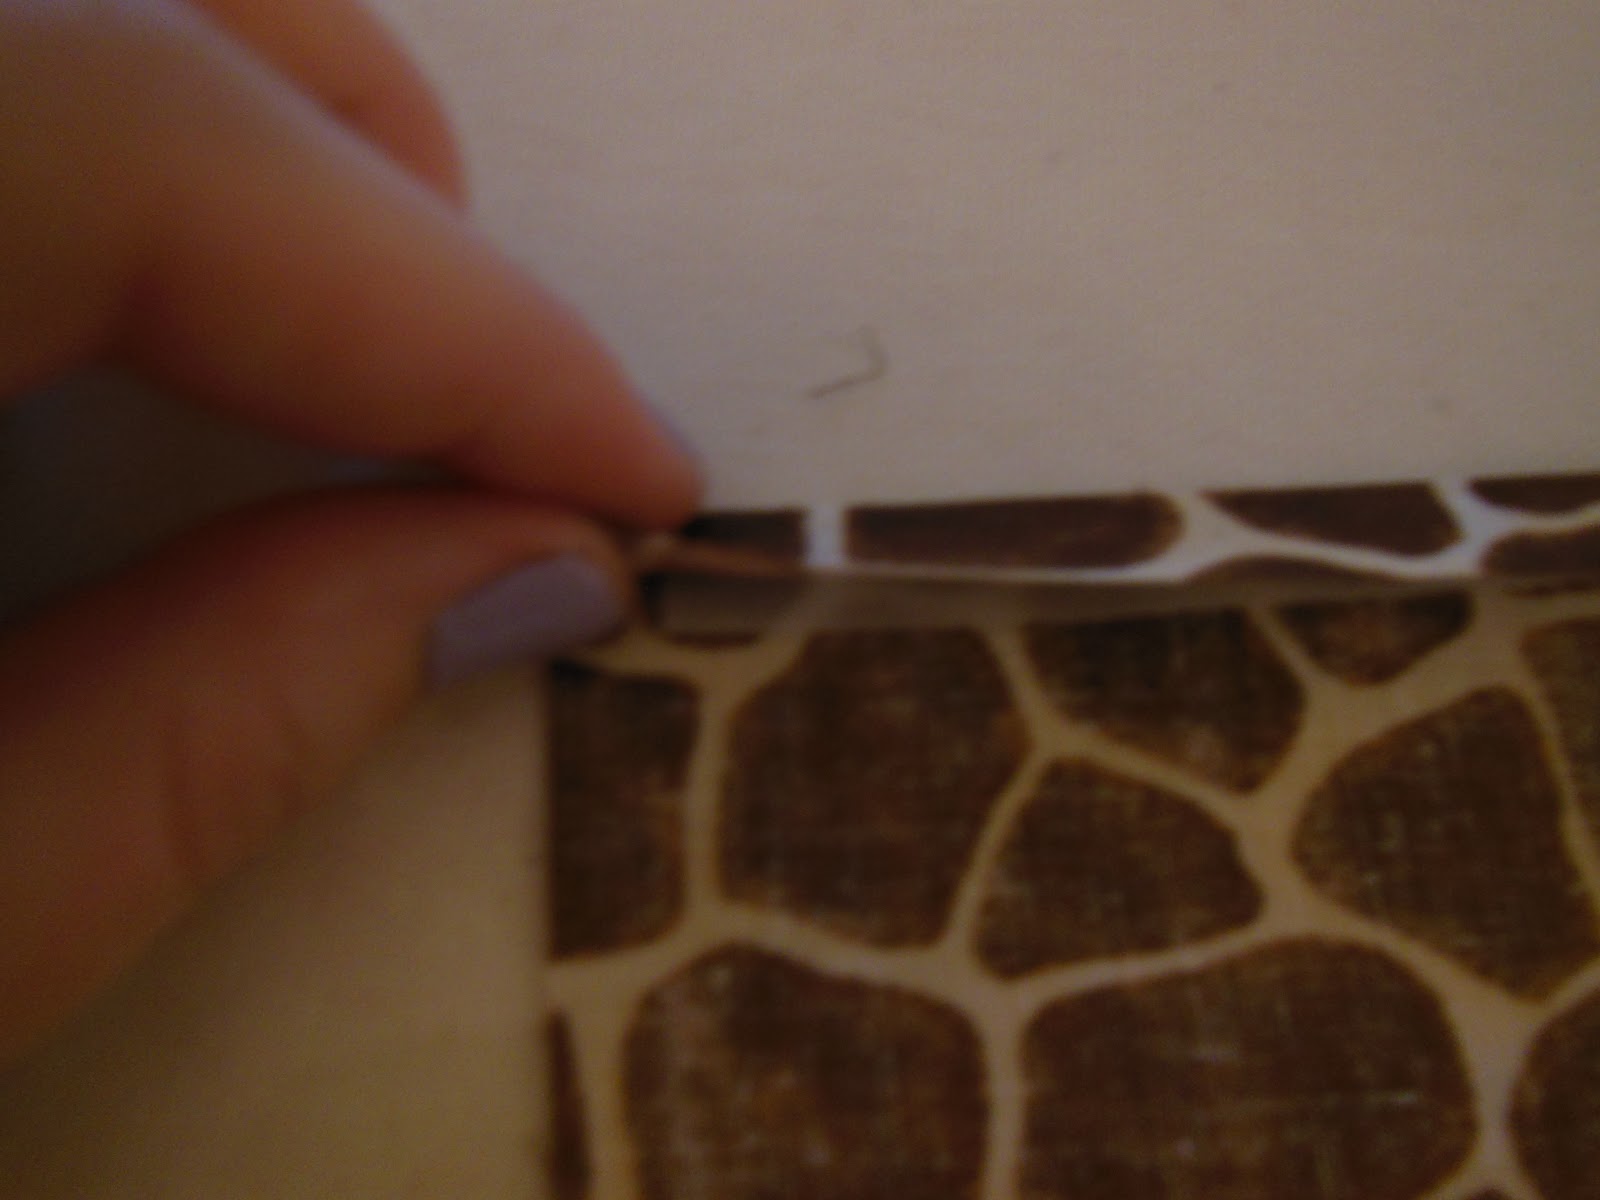
 Once you have used your iron-on hem on both folded sides, repeat the process with the other two unfolded sides. Because of the hem on the sides you already ironed, it may be a little hard to get the two new sides to stay folded down, so starch is definitely helpful for this step. It is easier to keep the folds if you cut the corner off of the inside like this:
 Make sure when you cut the hem for the last two ends that you don't make it any longer than the fabric, otherwise you will have a goopy-glue coming out of the ends all over your iron. Place the hem on the inner crease of your fold and iron. Now the outside your pocket will not fray.
 The picture above shows all of the folds you should have at this point. This will be the inside of your pocket. Place the inside of the pocket down on the shirt wherever you want it. Cut three pieces of hem for the right, left, and bottom sides of the pocket - these strips can be as long as the fabric, but not any longer. Iron them on and you're good to go!
 Keep in mind - this is a fashion pocket - if you try to put something heavy inside of it, it may not hold. If you want it to be strong enough to hold something substantial, then you will want to sew the pocket on instead of using the iron-on hem.
You can fashion the shirt however you want to! I will pair it with crop leggings and a simple silver necklace. Just be creative and it will look good for sure!
What you will need:

Your choice of fabric (try to stick with a fabric that has the same weight as your shirt)
Iron-on hem
Scissors
Pen
Ruler
Iron
Starch (optional)
For my shirt, I bought a "boyfriend tee" from Victoria's Secret so that my shirt would be over-sized and comfy. I purchased an already cut piece of fabric since I don't need very much. This tutorial is fairly similar to my headband tutorial. Since I wanted a smaller pocket, I decided on making a 3.5 x 3.5 square in the fabric but you can choose whatever size you would like.

Now you're going to cut out your square slowly so that you don't create any fraying along the edge. Iron out the fabric to get rid of any folds.
Fold two parallel sides over just far enough to be able to cover up your iron-on hem:


Place the strips in the crease of the fold you just made and iron. Make sure you follow the instructions for your iron-on hem.


You can fashion the shirt however you want to! I will pair it with crop leggings and a simple silver necklace. Just be creative and it will look good for sure!
Monday, August 13, 2012
No-sew headband
When I was wandering around the craft section of Walmart, I found a fabric I liked and decided that I wanted to make something out of it. I have always liked when girls wear bandanas as headbands but they seem too thick and odd-looking when I try it out myself.
This is my finished product:
 The picture is of my first attempt at this headband. The next time I make one I will add a few inches so the ties are bigger (I will make the adjustment in my instructions so that you will have the right length.) The whole project took me about a half hour since I was experimenting, but now that I know how, the next time I make one it will probably only take ten minutes.
What you need:
 1/2 yard of your choice of fabric (thin fabrics will work better)
Hem iron-on adhesive (for light fabrics)
Scissors
Pen
Ruler
Iron
Starch (optional)
Tape measure (optional)
To begin, you will want to lay your fabric flat. Using your pen and ruler, make a mark that is 3.5 inches into the fabric (don't worry, the headband won't be this wide when you're done.)
 Now, for this next part you will need to measure around your head where you are planning on wearing the headband. I didn't want to dig out a tape measure so I wrapped the fabric around my head, marked it, and then measured that with a ruler. My measurement was 20.5 inches. So that you can tie the headband at the finish, you will want to add 10 inches to your measurement (ex.: my new measurement is now 30.5 inches.) Using my ruler, I went along the edge of the fabric 30.5 inches up and repeated the last step (make a line 3.5 inches into the fabric.) Use your ruler to create a straight line parallel to the edge of the fabric that connects your two marks that are 3.5 inches in. Try to make a straighter line than what the picture shows ;)
 Use your scissors to cut both lines you have just drawn. The slower you cut, the less fraying you will have. Once you have your strip, fold it in half trying to line up the edges as accurate as possible. Iron across the folded strip to get rid of any unnecessary folds. If you would like to use starch, you can spray the folded fabric before you iron it to create a more crisp look with a finer fold like mine:
 The ends of your fabric will still be square and straight as opposed to my picture above. While your starch is drying, you can make your round edges. Keeping your fabric folded, start 2 inches down the edge of the fabric and create a curve like the picture below. Make sure when you end the curve, it is at the very end of the fabric by the fold so you don't make the actual length of the headband shorter.
 You will want to use your iron-on hem next. It is important that you follow the directions that came with your hem when you're using it. The directions on mine told me that I needed to have dry fabric and use my iron on medium heat with no steam or water. I had to let my headband dry for a little bit since I previously sprayed it with starch. Measure your iron-on hem so that you have one long strip the same length as the straight cut edge of your fabric. Once I had my long strip, I cut it into smaller ones so that ironing it together would be easier.
 For your curved edges you will want to cut two tiny strips of the hem like this:
 Placing the hem as close to the edge without going over is important so that your fabric won't fray. This is how close I put mine:
 Putting one section on the inner edge of the fabric at a time, you can begin to iron. My hem instructions said to hold the iron over the area for three seconds. Going piece by piece insures that you have no empty space in your headband for bubbles or ripples. This is my finished strip after I ironed:

 The second picture shows that my fold was uneven. All I did was cut the edge so that they matched. Now all you have to do is put it on and tie it!


 I added extra inches in the instructions so your ties will end up being longer than mine. You can always add as much as you want to have extra long ties. Use any fabric you want and just have fun with it!
This is my finished product:

What you need:

Hem iron-on adhesive (for light fabrics)
Scissors
Pen
Ruler
Iron
Starch (optional)
Tape measure (optional)
To begin, you will want to lay your fabric flat. Using your pen and ruler, make a mark that is 3.5 inches into the fabric (don't worry, the headband won't be this wide when you're done.)


Subscribe to:
Posts (Atom)