White t-shirts can be a good way to make a cute yet simple outfit
if you fashion it the right way.
What you will need:
Plain t-shirt
Your choice of fabric (try to stick with a fabric that has the same weight as your shirt)
Iron-on hem
Scissors
Pen
Ruler
Iron
Starch (optional)
For my shirt, I bought a "boyfriend tee" from Victoria's Secret so that my shirt would be over-sized and comfy. I purchased an already cut piece of fabric since I don't need very much. This tutorial is fairly similar to my headband tutorial. Since I wanted a smaller pocket, I decided on making a 3.5 x 3.5 square in the fabric but you can choose whatever size you would like.
You will need to fold the fabric in the next step so make sure that whatever measurements you decide on, you add .5 inches to your measurement. This is why my picture above has a 4 x 4 square drawn out with pen.
Now you're going to cut out your square slowly so that you don't create any fraying along the edge. Iron out the fabric to get rid of any folds.
Fold two parallel sides over just far enough to be able to cover up your iron-on hem:
Make your folds as straight as possible. Now you can spray the edges you just folded with starch if you want a crisper look to your fold. Once the starch dries, cut two strips of hem for the sides you just folded about this much shorter than the fabric:
You want to make sure it is shorter than the fabric so that folding it later will be easier.
Place the strips in the crease of the fold you just made and iron. Make sure you follow the instructions for your iron-on hem.
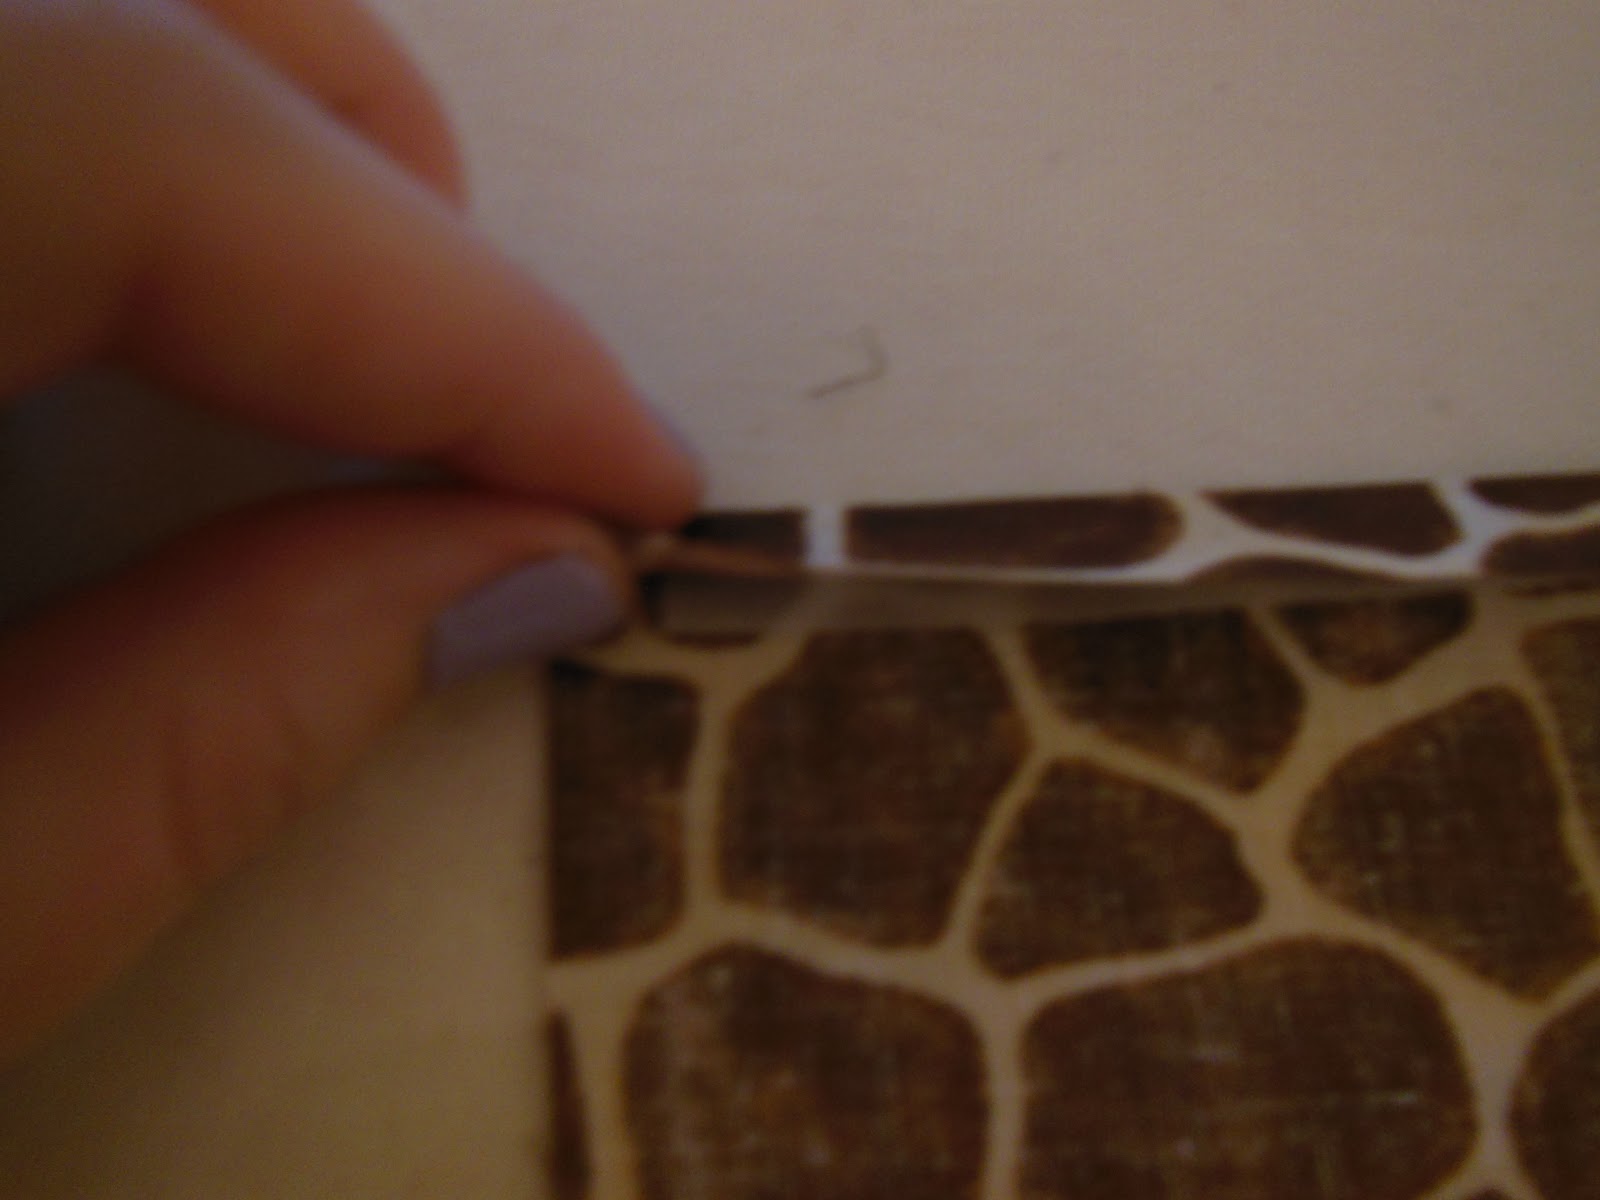
Once you have used your iron-on hem on both folded sides, repeat the process with the other two unfolded sides. Because of the hem on the sides you already ironed, it may be a little hard to get the two new sides to stay folded down, so starch is definitely helpful for this step. It is easier to keep the folds if you cut the corner off of the inside like this:
Make sure when you cut the hem for the last two ends that you don't make it any longer than the fabric, otherwise you will have a goopy-glue coming out of the ends all over your iron. Place the hem on the inner crease of your fold and iron. Now the outside your pocket will not fray.
The picture above shows all of the folds you should have at this point. This will be the
inside of your pocket. Place the inside of the pocket down on the shirt wherever you want it. Cut three pieces of hem for the right, left, and bottom sides of the pocket - these strips can be as long as the fabric, but not any longer. Iron them on and you're good to go!
Keep in mind - this is a fashion pocket - if you try to put something heavy inside of it, it may not hold. If you want it to be strong enough to hold something substantial, then you will want to sew the pocket on instead of using the iron-on hem.
You can fashion the shirt however you want to! I will pair it with crop leggings and a simple silver necklace. Just be creative and it will look good for sure!


No comments:
Post a Comment